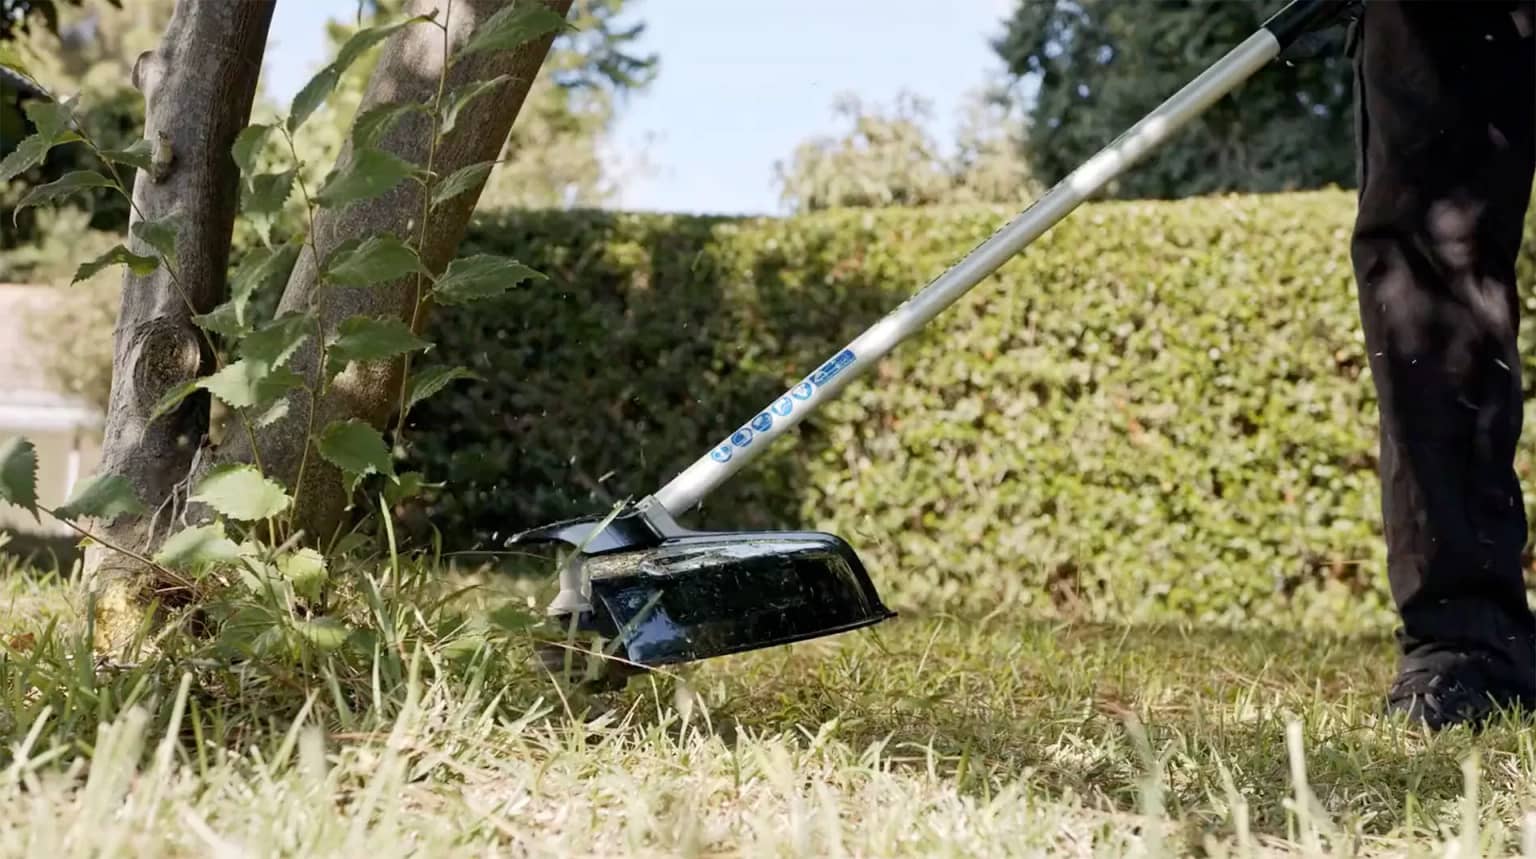
Lawn Care
Learn simple lawn care practices that support healthy grass, reduce runoff and help protect local waterways.
Learn More
;%20}%20%3c/style%3e%3c/defs%3e%3cg%20id='c'%20data-name='Layer%201'%3e%3cpath%20class='d'%20d='M1308,389.62c0-130.65-108.28-246.14-274.2-316.6-13.54-5.83-27.31-11.2-41.54-16.33-4.43-1.63-9.1-3.03-13.77-4.67-13.3-4.67-26.84-8.87-40.61-12.83-8.87-2.57-17.73-4.9-26.84-7.23-4.43-1.17-9.1-2.1-13.77-3.27C821.67,10.5,739.76,0,653.18,0,292.4-.23,0,173.81,0,388.45c0,118.52,89.38,224.67,229.86,296.06,113.88,57.86,261.6,92.86,422.85,92.86,75.38,0,147.49-7.7,214.93-21.7,0,0,.7,0,1.87-.47,2.1-.47,4.2-.93,6.3-1.4,2.8-.47,6.07-.7,9.8-.7,11.43,0,27.3,3.5,44.57,15.86,46.91,40.36,107.12,66.03,173.15,66.03,15.64,0,23.8-1.87,31.5-3.03-52.97-14.46-105.01-65.79-58.34-145.82,141.42-71.39,231.5-177.78,231.5-296.76v.23Z'/%3e%3c/g%3e%3c/svg%3e)

Soil test kits are available through garden centers, local Virginia Cooperative Extension offices and soil testing laboratories.
When to test:
To get an accurate soil sample, divide your landscape into areas with different uses, such as your lawn, vegetable garden, perennial flower bed or shrub bed. Sample each area separately, and use the same sampling depth from year to year so results can be compared more accurately over time.
Open a hole with a shovel, spade or trowel from the surface to the proper depth for your landscape area. Set that soil aside. (If you are using a soil probe, insert it into the soil to the proper depth and remove the plug from the ground).
With your shovel or trowel remove a 1-inch thick slice from the smooth side of the open hole
With the slice of soil on the blade of the shovel, remove the sides of the slice with a trowel, knife or your hands to create a ribbon of soil 2-inches wide and 1-inch thick of the proper depth.
Remove any surface mat of grass, litter and any rocks. Place the soil in a clean plastic container or bucket. If the bucket has been used to hold fertilizer or other chemicals, wash and rinse it thoroughly before using it for soil samples. Even a small amount of lime or fertilizer transferred from the sampling tools to the soil can seriously contaminate the sample and produce inaccurate results.
Take 10 additional soil sub-samples from different locations within each uniform landscape area to make a composite sample. Take the sub-samples in a random manner, such as with a zigzag pattern to minimize the variability that may be present in your sampling area. The larger the area, the more sub-samples you should take.
Thoroughly mix the sub-sample slices or cores. Break up clumps and remove all foreign matter such as roots, stalks, rocks, etc.
Fill the container from the soil test kit with your sub-sample. Use a different soil kit container for each sub-sample. Make sure to label with the name of the sub-sample it represents (ex. FYARD, BYARD, ROSE, GARDN).

Your soil test will provide information about nutrient levels and soil conditions, along with recommendations for improving plant health.
Common measurements include:
In Hampton Roads, soils are often naturally high in phosphorus, so additional phosphorus may not be necessary except in new planting areas.
Learn simple lawn care practices that support healthy grass, reduce runoff and help protect local waterways.
Learn More
Explore how native plants support wildlife, conserve water and create healthier outdoor spaces in Hampton Roads.
Learn More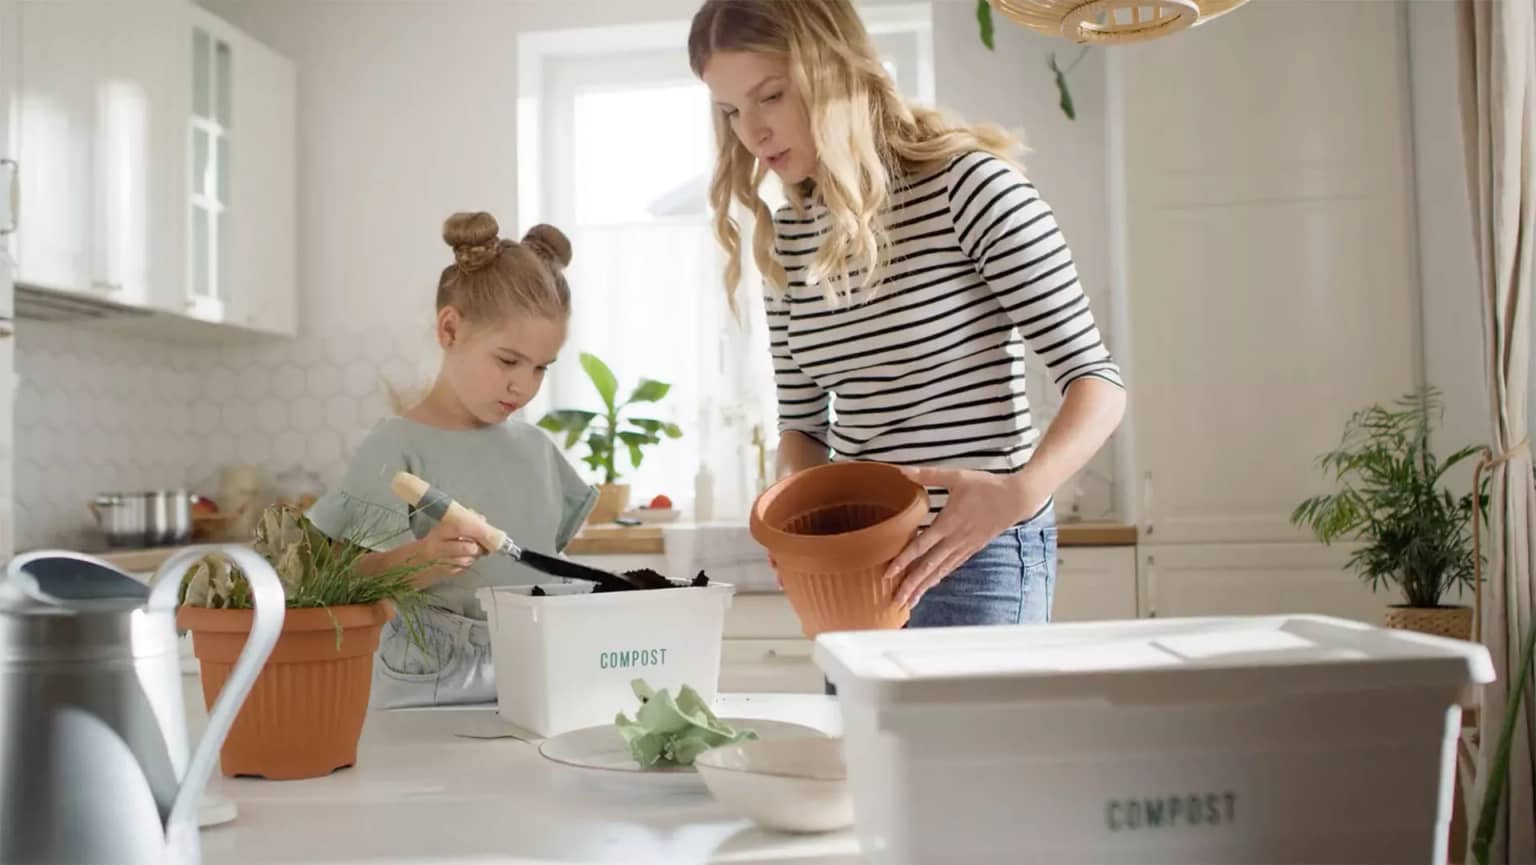
Learn how composting food scraps and yard refuse can reduce waste, enrich soil and support a healthier yard.
Learn More