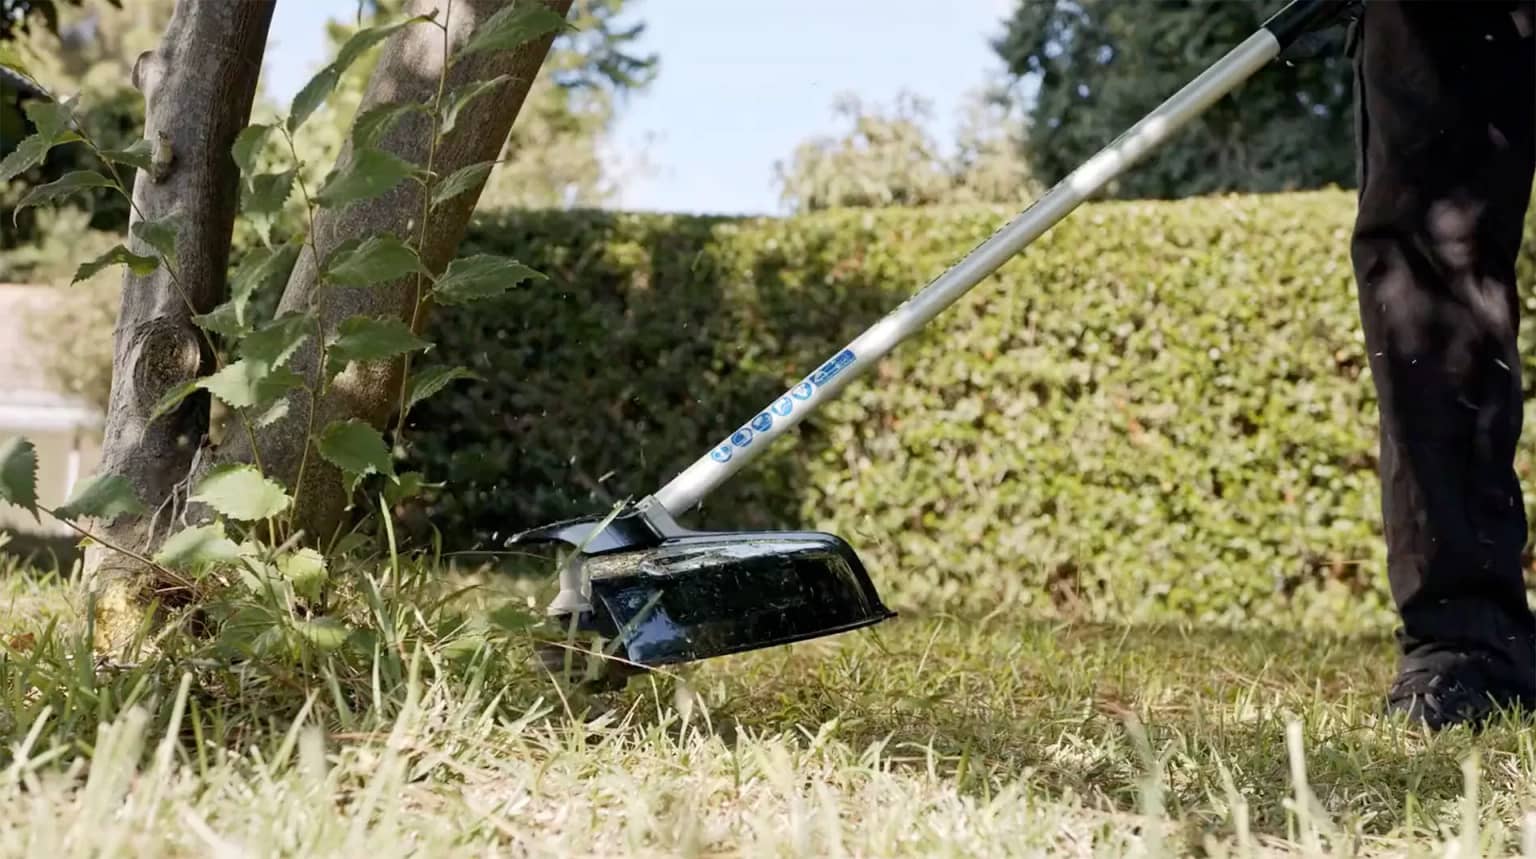
Lawn Care
Learn simple lawn care practices that support healthy grass, reduce runoff and help protect local waterways.
Learn More
;%20}%20%3c/style%3e%3c/defs%3e%3cg%20id='c'%20data-name='Layer%201'%3e%3cpath%20class='d'%20d='M1308,389.62c0-130.65-108.28-246.14-274.2-316.6-13.54-5.83-27.31-11.2-41.54-16.33-4.43-1.63-9.1-3.03-13.77-4.67-13.3-4.67-26.84-8.87-40.61-12.83-8.87-2.57-17.73-4.9-26.84-7.23-4.43-1.17-9.1-2.1-13.77-3.27C821.67,10.5,739.76,0,653.18,0,292.4-.23,0,173.81,0,388.45c0,118.52,89.38,224.67,229.86,296.06,113.88,57.86,261.6,92.86,422.85,92.86,75.38,0,147.49-7.7,214.93-21.7,0,0,.7,0,1.87-.47,2.1-.47,4.2-.93,6.3-1.4,2.8-.47,6.07-.7,9.8-.7,11.43,0,27.3,3.5,44.57,15.86,46.91,40.36,107.12,66.03,173.15,66.03,15.64,0,23.8-1.87,31.5-3.03-52.97-14.46-105.01-65.79-58.34-145.82,141.42-71.39,231.5-177.78,231.5-296.76v.23Z'/%3e%3c/g%3e%3c/svg%3e)

Compost improves soil health naturally while reducing the amount of food scraps and yard waste sent to landfills. It can help your plants thrive, reduce the need for fertilizers and pesticides, and keep scraps out of kitchen drains where they can contribute to clogs.
Benefits of composting:
Finished compost can be added to flower beds, vegetable gardens, container plants, tree beds, potting soil or used as mulch.

Many common yard and kitchen materials can be composted at home. Below are some great additions to include in the compost pile, and some to avoid.
Keeping the right balance of materials helps create healthy compost and prevents odors or pests.
*Backyard composting piles do not generally reach high enough temperatures to fully decompose certified compostable food service ware and bags. These items are designed to be composted at commercial composting facilities.

Successful composting requires four basic ingredients: carbon-rich materials (“browns”), nitrogen-rich material (“greens”), water and air.
For best results:
With a little time and attention, your compost can become a valuable resource for your lawn and garden.
For greens, collect and store your fruit and vegetable scraps in a closed container on your kitchen counter, under your sink, or in your fridge or freezer. For browns, set aside an area outside to store your steady supply of leaves, twigs, or other carbon-rich material; these will be mixed with your food scraps.
Choose a space in your yard for your compost pile that is easily accessible year-round and has good drainage. Avoid placing it right up against a fence and ensure there is a water source nearby. Your compost pile will break down in sun OR shade. Next, choose a type of bin for your pile. Bins can be constructed from materials such as wire, wood, and cinder blocks. They can also be enclosed in barrels and tumblers.
Try to chop and break your greens and browns up into smaller pieces (e.g., corn cobs, broccoli stalks, and other tough food scraps). Doing so will help the materials in the pile break down faster.
Start your pile with a four- to six-inch layer of bulky browns such as twigs and wood chips. This layer will absorb extra liquids, elevate your pile and allow air to circulate at the base of the pile. Then layer your greens and browns like lasagna. If needed, add a little water to dampen the pile.
Having the right proportions of ingredients in your compost pile will provide the composting microorganisms the carbon, nitrogen, oxygen, and moisture they need to break down the material into finished compost. When adding browns and greens to your pile, add at least two to three times the volume of browns (such as dry leaves) to the volume of greens (such as food scraps). Always ensure your food scraps are covered by four to eight inches of dry leaves or other browns.
Air and water are the other key ingredients in your pile. To ensure air circulation, add enough browns and turn your compost occasionally. To maintain moisture in your pile, ensure your combined materials have the consistency of a wrung-out sponge.
As the materials in your compost pile begin to decompose, the temperature of the pile will initially begin to rise, especially in the center. A backyard pile, if well maintained, can reach temperatures of 130° to 160° F. High temperatures help reduce the presence of pathogens and weed seeds.
Turning and mixing your pile from time to time will help speed up the decomposition process and aerate the pile. Use a garden fork to turn the outside of the pile inward.
Monitor your pile for moisture, odor, and temperature and make adjustments as needed.
When your compost pile is no longer heating up after mixing, and when there are no visible food scraps, allow your pile to cure, or finish, for at least four weeks. You can relocate the oldest compost at the bottom of the pile to a separate area to cure or stop adding materials to your pile. After curing, your pile will have shrunk to about one-third of its original size.
Compost in a well-maintained pile will be finished and ready for use in about three to five months. Left untended, a pile may take a year to decompose. The compost will look dark, loose, and crumbly and smell like fresh soil. Most, if not all, of the materials that went into the compost pile should be decomposed.
Screen or sift your finished compost to filter out materials that didn’t break down—twigs, fruit pits, eggshells, and items like produce stickers and plastic. (You can make a homemade screener out of ¼ inch hardware cloth.) Pits, eggshells, etc. that you sifted out can be added back into the active pile or to a new pile.
Learn simple lawn care practices that support healthy grass, reduce runoff and help protect local waterways.
Learn More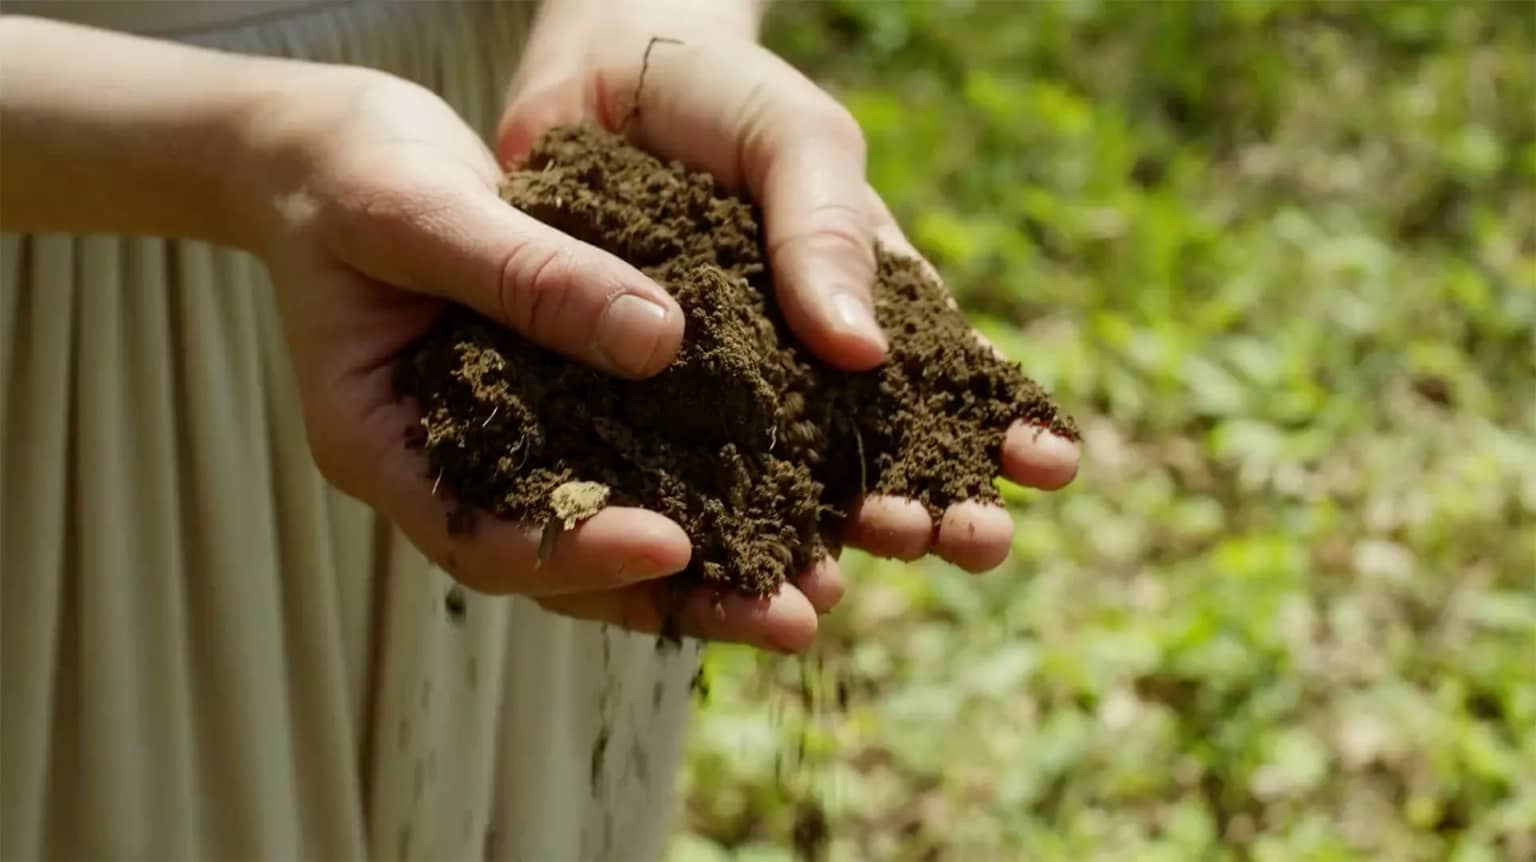
Learn how to fertilize responsibly, protect local waterways and keep your lawn healthy without overdoing it.
Learn More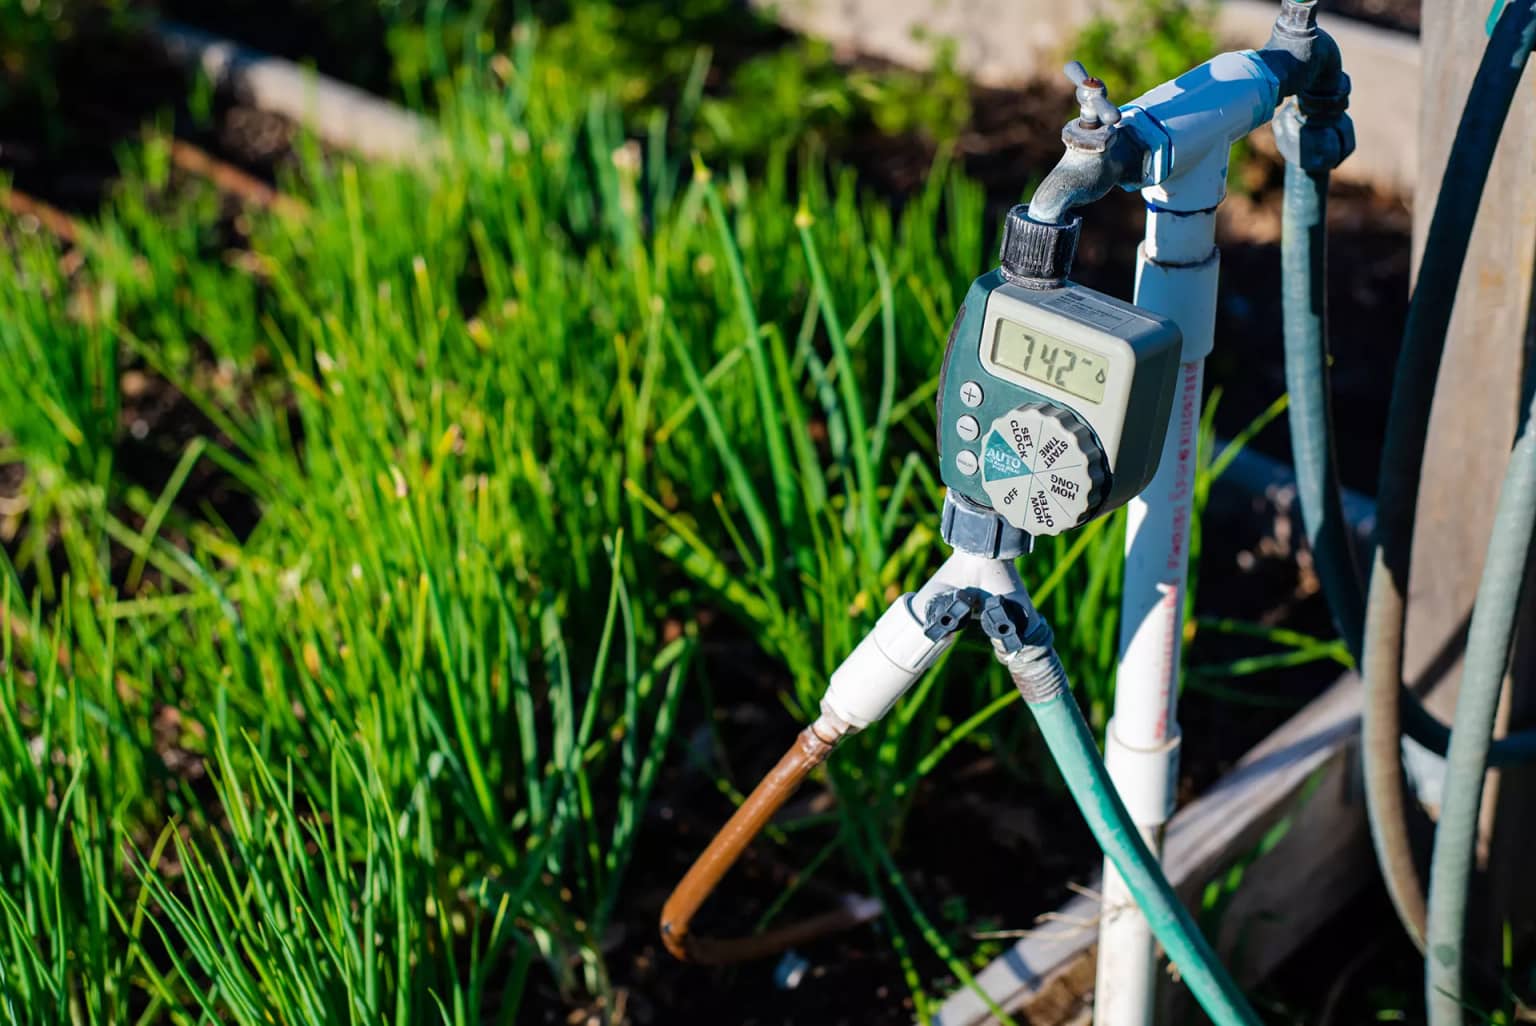
Find out how soil testing can help you choose the right lawn and garden care while reducing unnecessary fertilizer use.
Learn More
Explore how native plants support wildlife, conserve water and create healthier outdoor spaces in Hampton Roads.
Learn More