
If you’re an avid gardener, you’re probably familiar with home composting. The premise is simple; mix kitchen scraps with a bunch of leaves or straw in a bin to make a rich, organic fertilizer for your plants. It’s green! It’s economical! It’s easy! Or so they say.
I love home-grown vegetables. Specifically tomatoes, because I’ve found the ones available in grocery stores to be nothing short of inedible. I’m also known to grow epic corn, eggplants, artichokes, lettuces, kale, cucumbers, potatoes, watermelons, zucchini, blackberries, herbs and green beans. The point is this: I’m good at growing things. The secret to my success? Good soil and a laid-back (bordering on lazy) attitude. Unfortunately, home composting using a bin requires a certain level of attention to detail that just doesn’t jive with my “lazy gardening” philosophy.
Here’s how bin composting works:
1. Choose a bin. You can purchase a simple pre-made bin from a garden center or spring for a more expensive tumbler. You can even make your own from a large lidded trash can. I made my own by drilling a bunch of small holes in a hefty green trash can to let oxygen in.
2. Layer nitrogen-rich green waste (grass clippings, fruit and vegetable waste, flowers) and carbon-rich brown waste (dead leaves, sawdust, shredded paper). Each later should be about 2-4 inches thick. Make sure green waste from your kitchen is always covered by green or brown waste from your yard to keep it from attracting critters.
3. Turn it at least once a week. The decomposing microorganisms responsible for turning your waste into fertilizing compost need oxygen to survive, and turning the pile allows air to circulate and speeds things along. A tumbler makes this step easy (you just rotate the side handle a few times) but you can also use a pitchfork or shovel.
4. Be patient. Compost is ready to use when it no longer looks like raw materials and instead like rich soil. This may take a few months!
Once I completed my homemade compost bin, I was ready to roll. I kept dead leaves and topsoil nearby to sprinkle on top of any food scraps, mixed it up every week, threw in a bunch of worms to help out the decomposing microorganisms, and got… grubs. Lots and lots of grubs. So I dumped Trial 1 onto the lawn (the neighborhood songbirds had a heyday) and tried again. I figured I didn’t have enough brown waste, so I added more leaves and shredded paper and less food scraps. The result? More grubs. It was gross. And most of my food scraps were still completely recognizable! Ever the optimist, I tried again. Unfortunately, the third time was NOT the charm and I was once again thwarted by those pesky fly larvae.
Maybe my homemade compost bin was ineffective. Maybe I didn’t add enough leaves or have the right brown-to-green-waste ratio. Maybe I didn’t mix it enough, or mixed it too much. Maybe I wasn’t patient enough (this is likely true). Who knows. The point is, after three tries and way more grubs than I ever want to see again, I gave up. I figured I’d just have to be one of those people who buys fertilizer from the store each year.
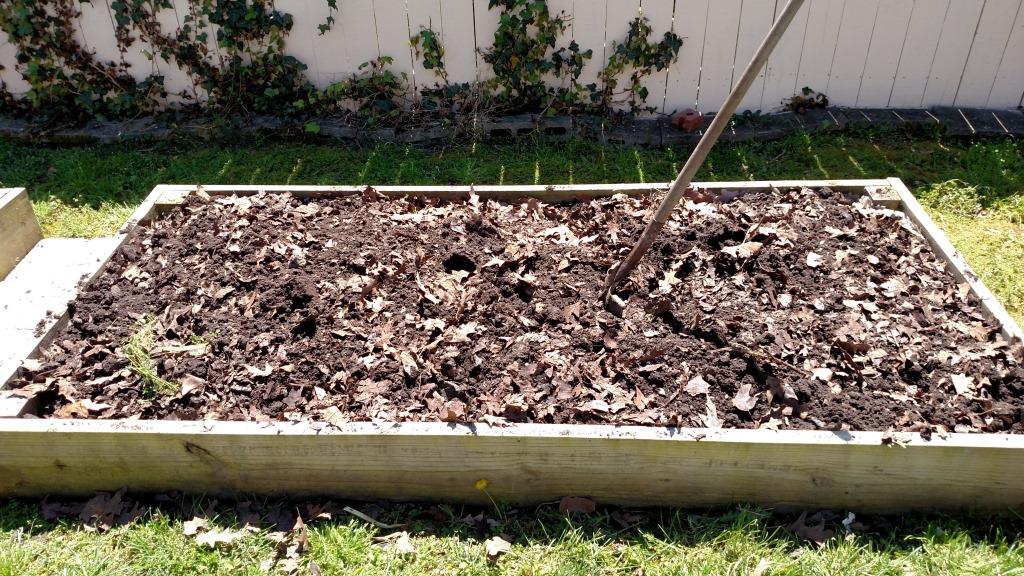
My compost bed in early spring is ready for action!
A few months after quitting composting, I was dealing with the remnants of an ill-fated attempt at growing acorn squash and thinking to myself “I wish I still lived in Troutville and could just rake all this stuff into the woods.” And then, a light bulb! Just because I live in the city now doesn’t mean I have to use a bin to make compost! Like my country brethren of yore, I could just rake it into a pile, dump some dirt on top, and let nature do its thing. So I dug a hole in one of my raised beds, added the vines and exploded acorn squash, topped it with dirt, and went on my merry way. A few weeks later I dug the spot back up and found rich, beautiful soil. It was a Lazy Gardening miracle!

3 weeks post food scrap addition and looking lovely.
Two years later and that raised bed is my own personal dirt factory. It’s active about ten months out of the year (my commitment to sustainability doesn’t go so far as to dig through ice in the winter) and produces enough compost to fertilize all my produce and fill the small sinkholes in my yard. I add fruit and vegetable scraps, thin cardboard, shredded paper, grass clippings, leaves, dead plants, tea bags, spaghetti… pretty much anything biodegradable that isn’t meat or cheese. I literally just dig a hole in the ground and bury stuff. I don’t worry about layering brown and green waste, adding earth worms or mixing it; I just let the bugs and microorganisms in the soil do their magic. As a family of four, our big black curbside trashcan is rarely half-full and I’m able to avoid the dreaded clear plastic yard waste bags most of the time. All in all, it’s been a great success. But I have learned a few things:
- It turns out this method actually has a name: Trench Composting.
- Although you can get away with burying large food scraps in your compost pile (I bury our jack-o-lanterns whole after Halloween), it does take longer for them to break down. So cut your kitchen scraps into small pieces if you’re in a compost-creating hurry.
- The key is to success is ADEQUATE BURIAL. This gives easy-access to worms and microorganisms while repelling flies, ‘coons and other varmints.
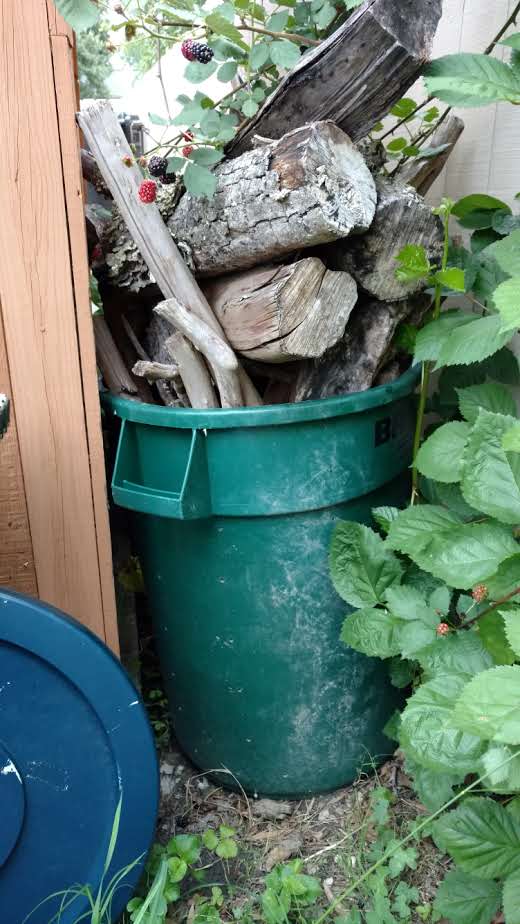
My retired compost bin serves a new purpose
If bin composting works for you, that’s great! But if you’re like me, have failed at it repeatedly, and have the space for a food scrap burial ground (a.k.a. Trench Composting) then try out my Lazy Gardening method. Your tomatoes and trash can will thank you.
Guest post submitted by Molly Bertsch, HRSD Community Educator.