
A rain garden – sounds lovely, doesn’t it? Thanks to the assistance of the Elizabeth River Project and their River Star Homes program, I now have a lovely rain garden in my back yard that collects stormwater runoff and helps protect local waterways.
For years, I thought about DIY-ing a rain garden in the soggy spot in the back yard, but frankly, I was intimidated by the project. In order to function properly, a rain garden should meet certain design requirements (location, size, depth of special soil media, plant selection, etc.). The wet weather this spring finally prompted me to take action – I bookmarked the askHRgreen.org rain garden information page and started researching! I read the Rain Gardens Technical Guide; downloaded the free rain garden landscape plans and native plant guide; took a class to learn about sustainable landscaping, determined my soil type, and drew up a site analysis for my yard.
Long story short, I learned that my rain garden would not be a DIY project. I cringed when I totaled up my estimates of how much dirt needed to be removed and replaced with stone, special soil, and mulch. It would take my husband and me and our little pickup truck forever to complete such a project. I needed help. Professional help. With heavy equipment.
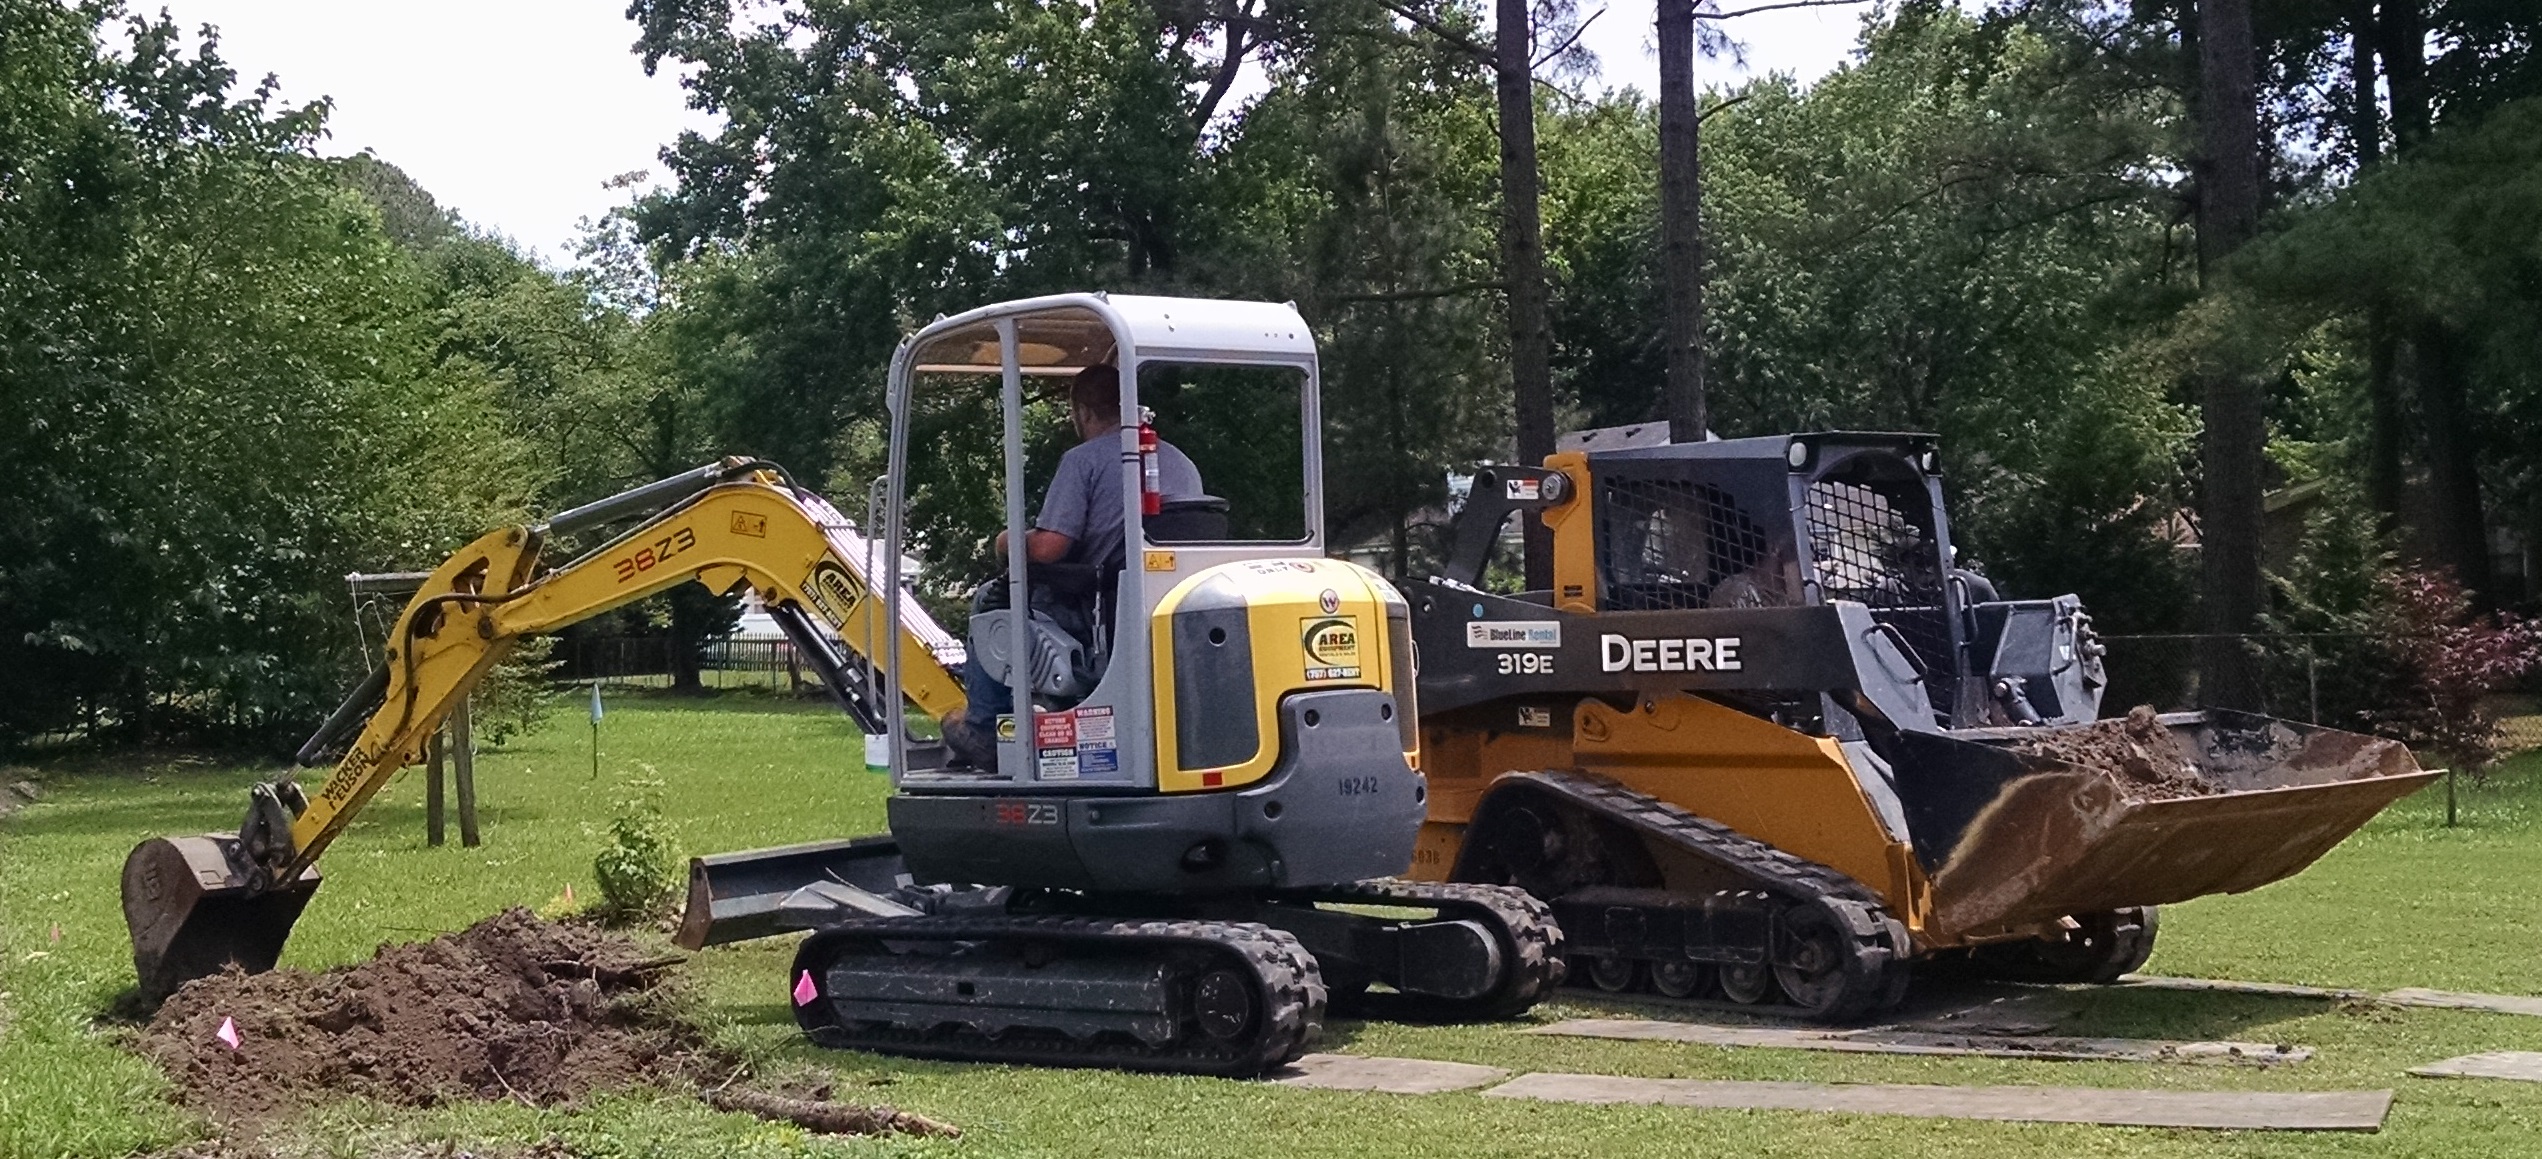
Backhoes to the rescue!
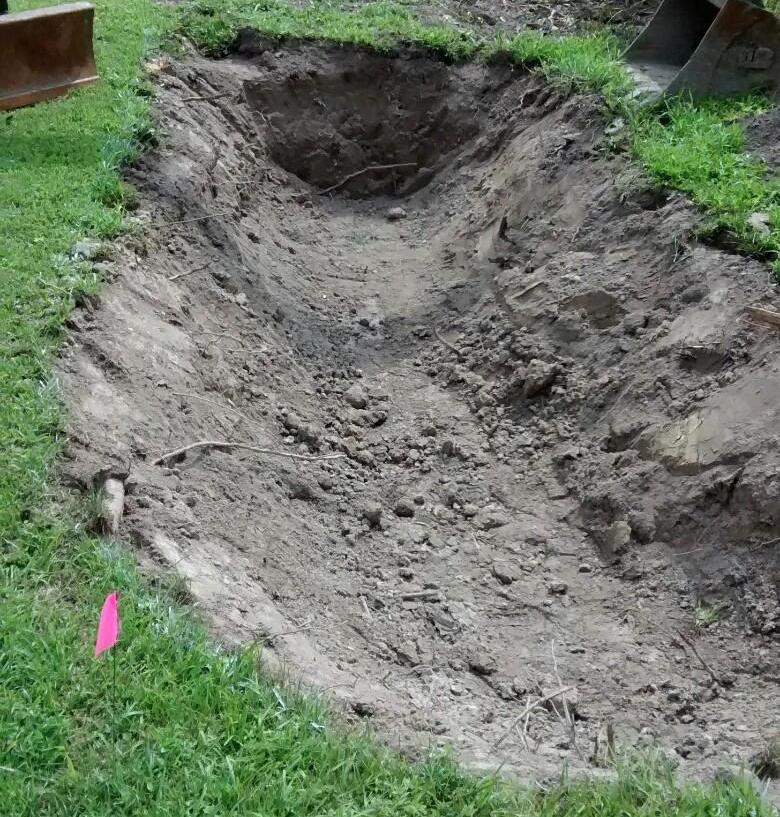
Depth of rain garden
Fortunately, River Star Homes offers special opportunities in the Eastern Branch and Lafayette sections of the Elizabeth River Watershed for homeowners to help reduce water pollution and restore the health of the Elizabeth River. I applied for their rain garden cost share program (learn more), and staff from the Elizabeth River Project assessed my yard and provided a list of recommendations, including a rain garden. With their partner, Bay Environmental, Inc., an appropriate location was selected. All of the technical design considerations were addressed and installation would be done by professionals. I was so excited!
On day 1 of the rain garden installation, the 16-foot by 6-foot area was excavated to a depth of 30 inches and approximately 10 cubic yards of clay soil was removed that afternoon. The next day, 2 cubic yards of stone was spread across the bottom of the excavated area and topped with 6 cubic yards of a special soil mix. The special soil mix increases the amount of water held by the rain garden and encourages it to soak into the ground. Finally, 1 cubic yard of hardwood mulch was spread over the rain garden site. A variety of colorful, flowering native plants were installed on the third day. The plants have quite a way to “grow,” but it’s already a very lovely scene.
Want to see the finished garden, the planting plan, and the native plants in this rain garden? Stay tuned for the next segment of this post, “Backyard Raingarden, Part 2: Hard Working and Pretty Native Plants.” I’ll have update on how the plants handling the summer heat.
This blog contributed by Tiffany Smith, Water Resources Planner at Hampton Roads Planning District Commission.
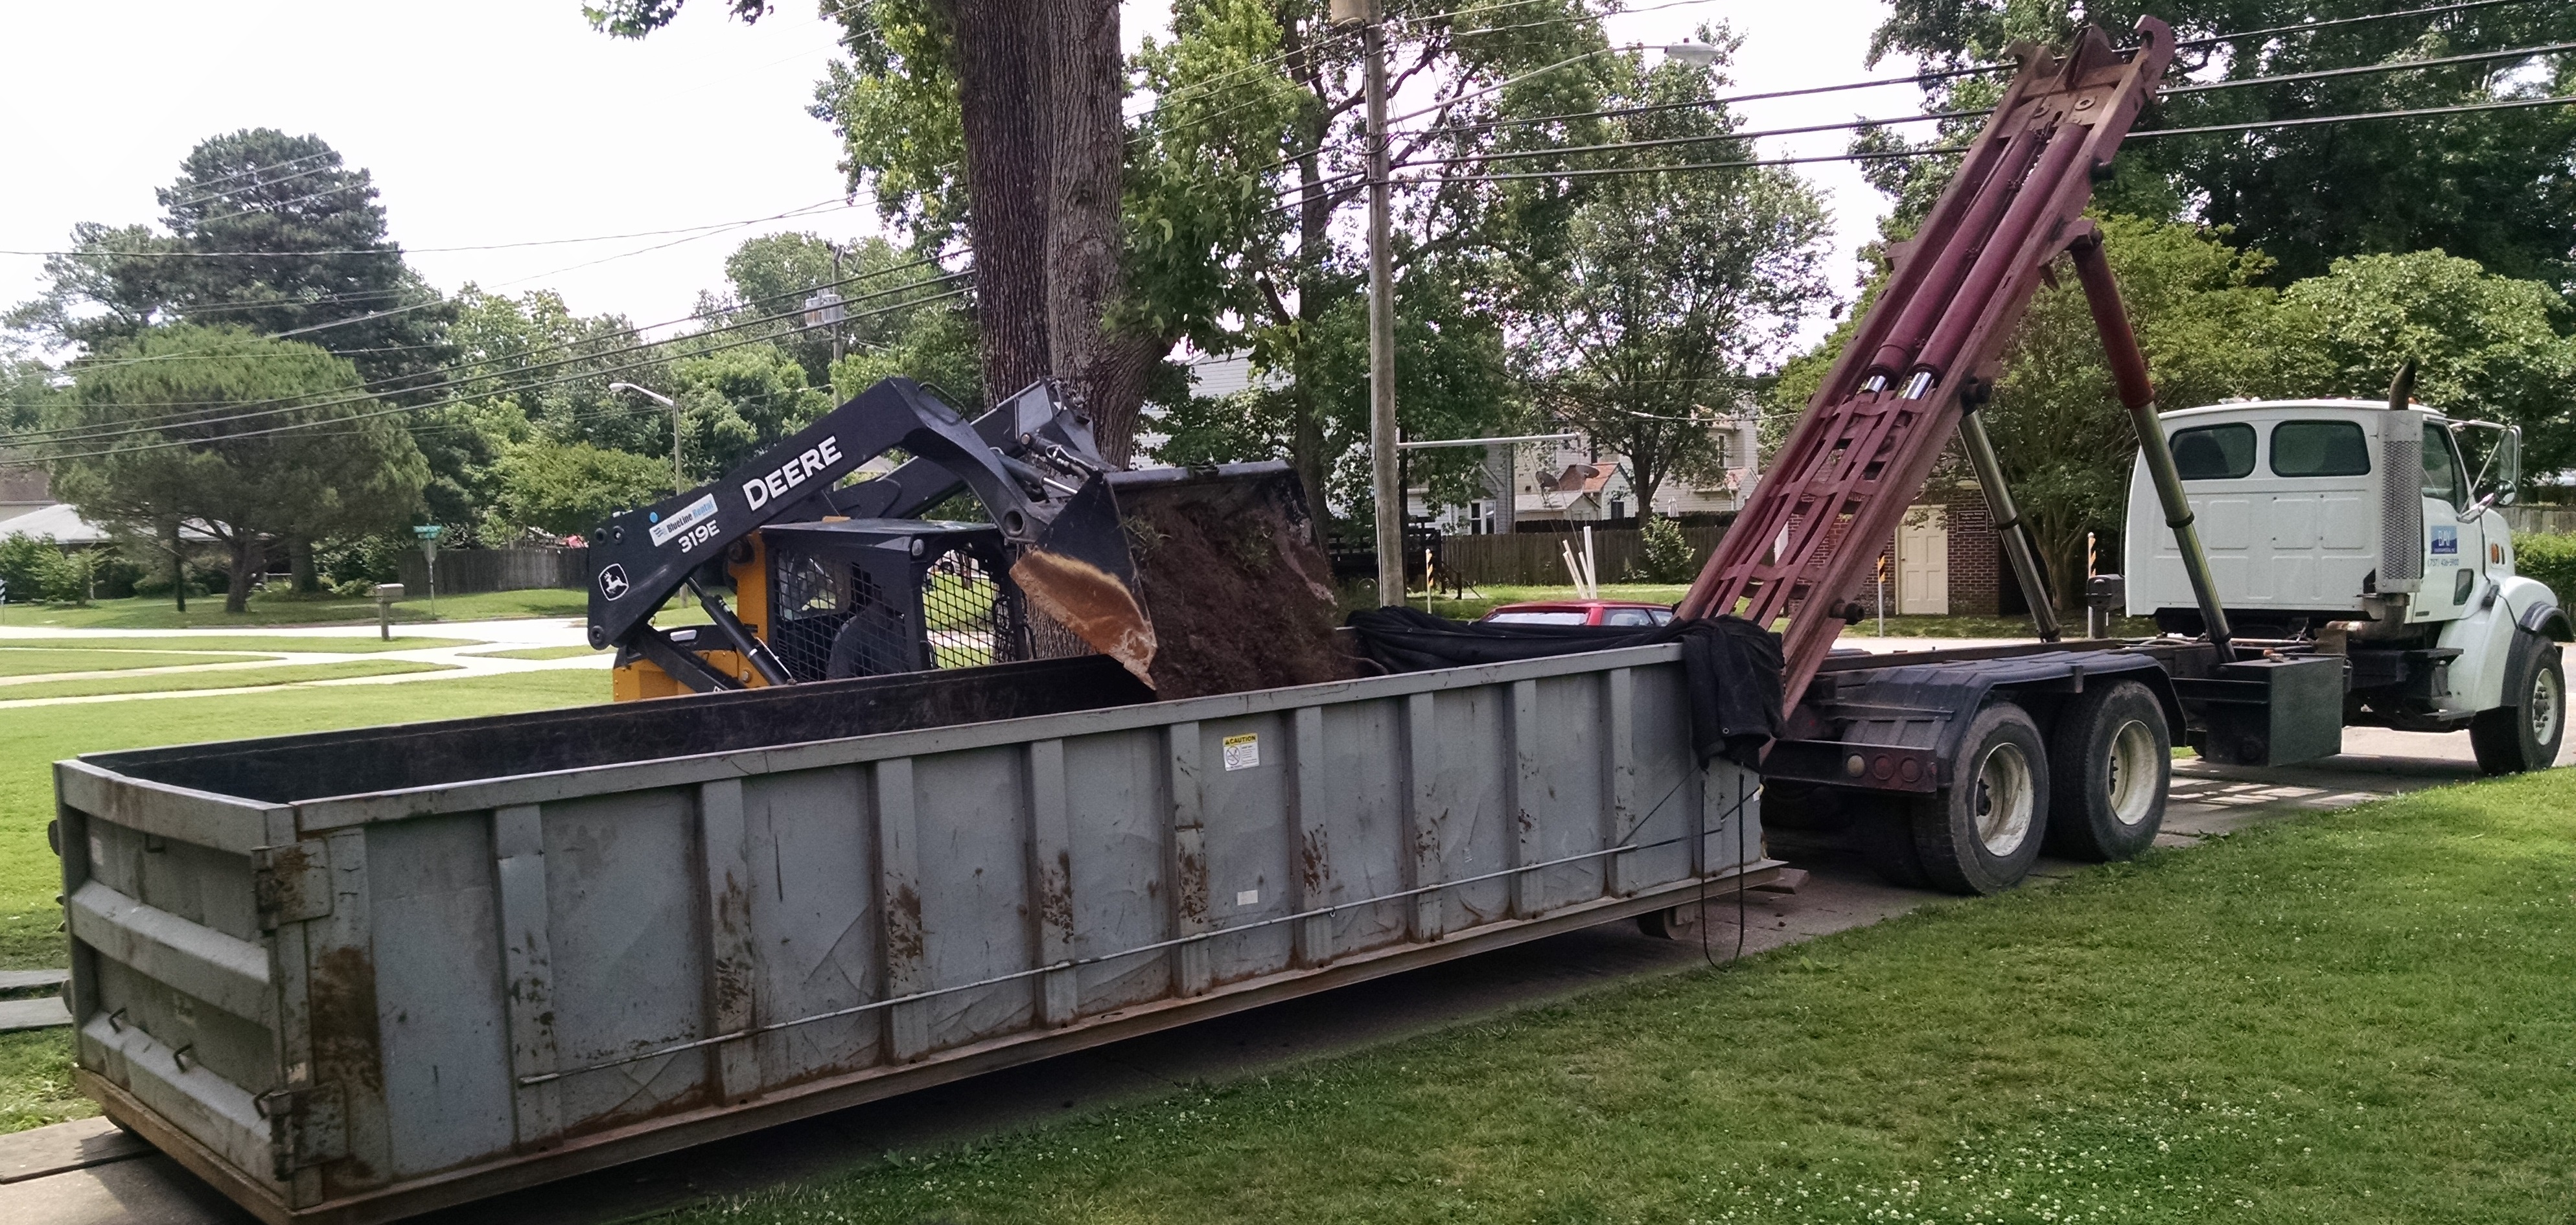
Disposing of clay soil
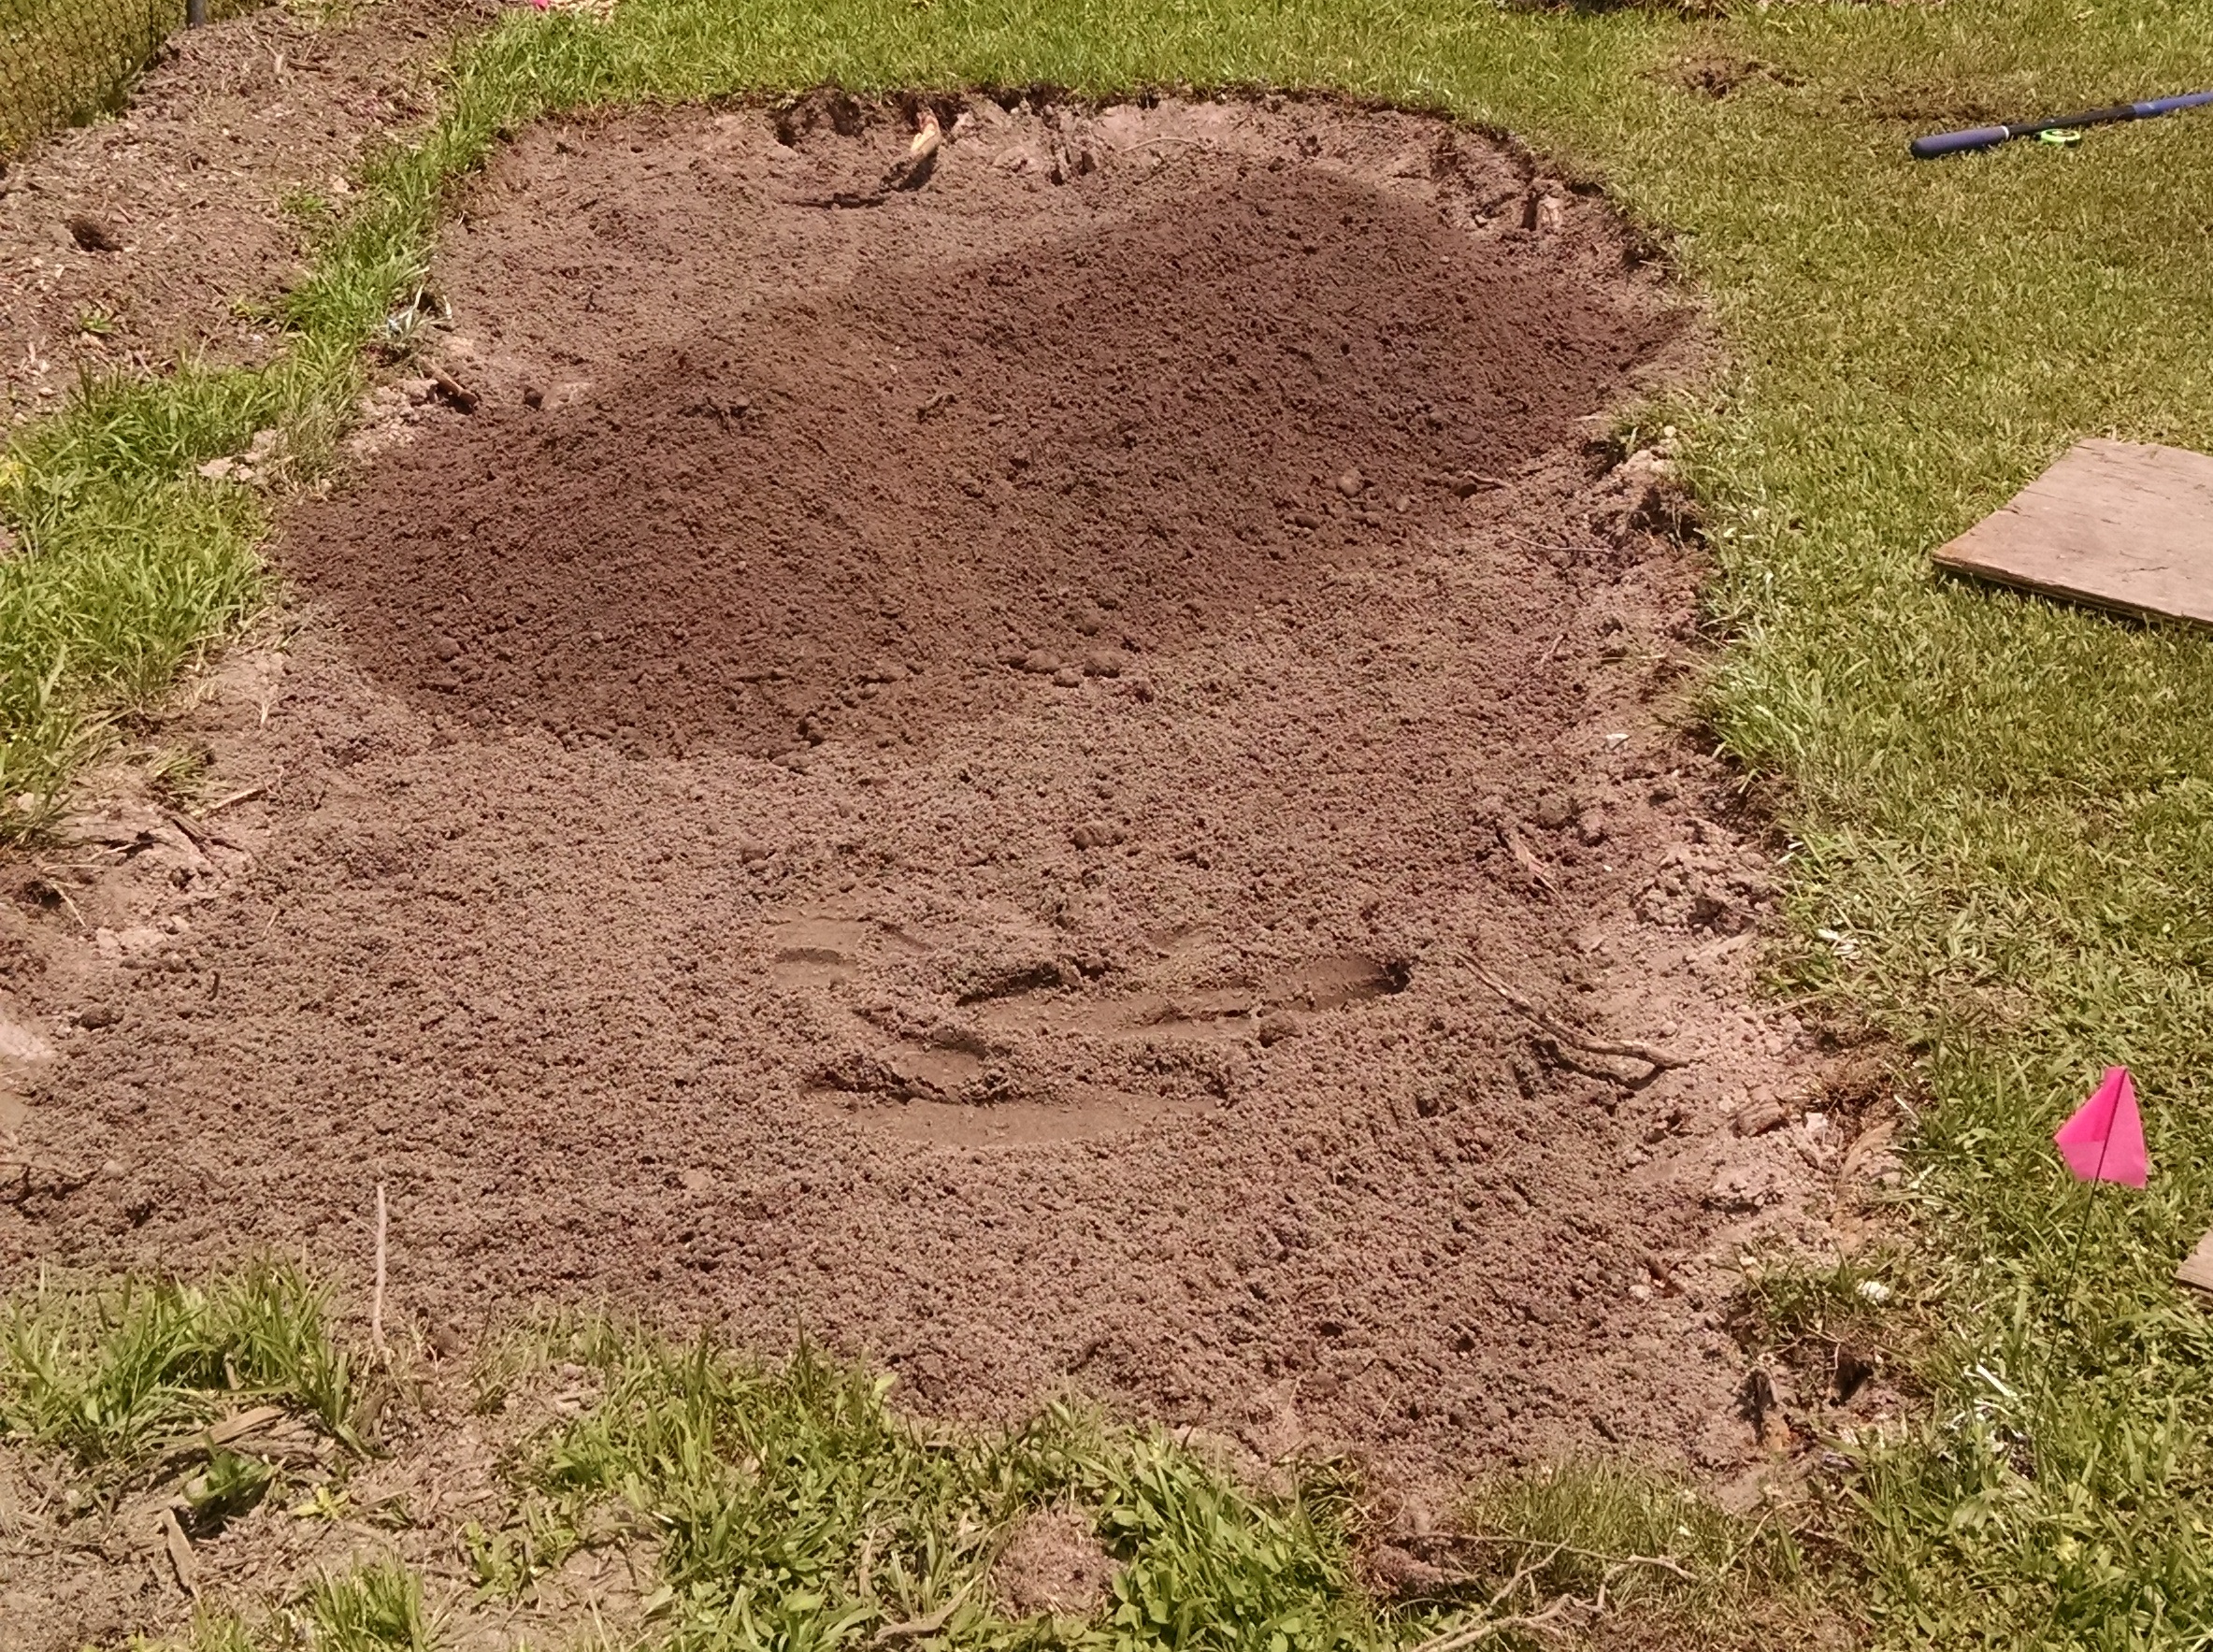
Rain garden refilled with stone and special soil.
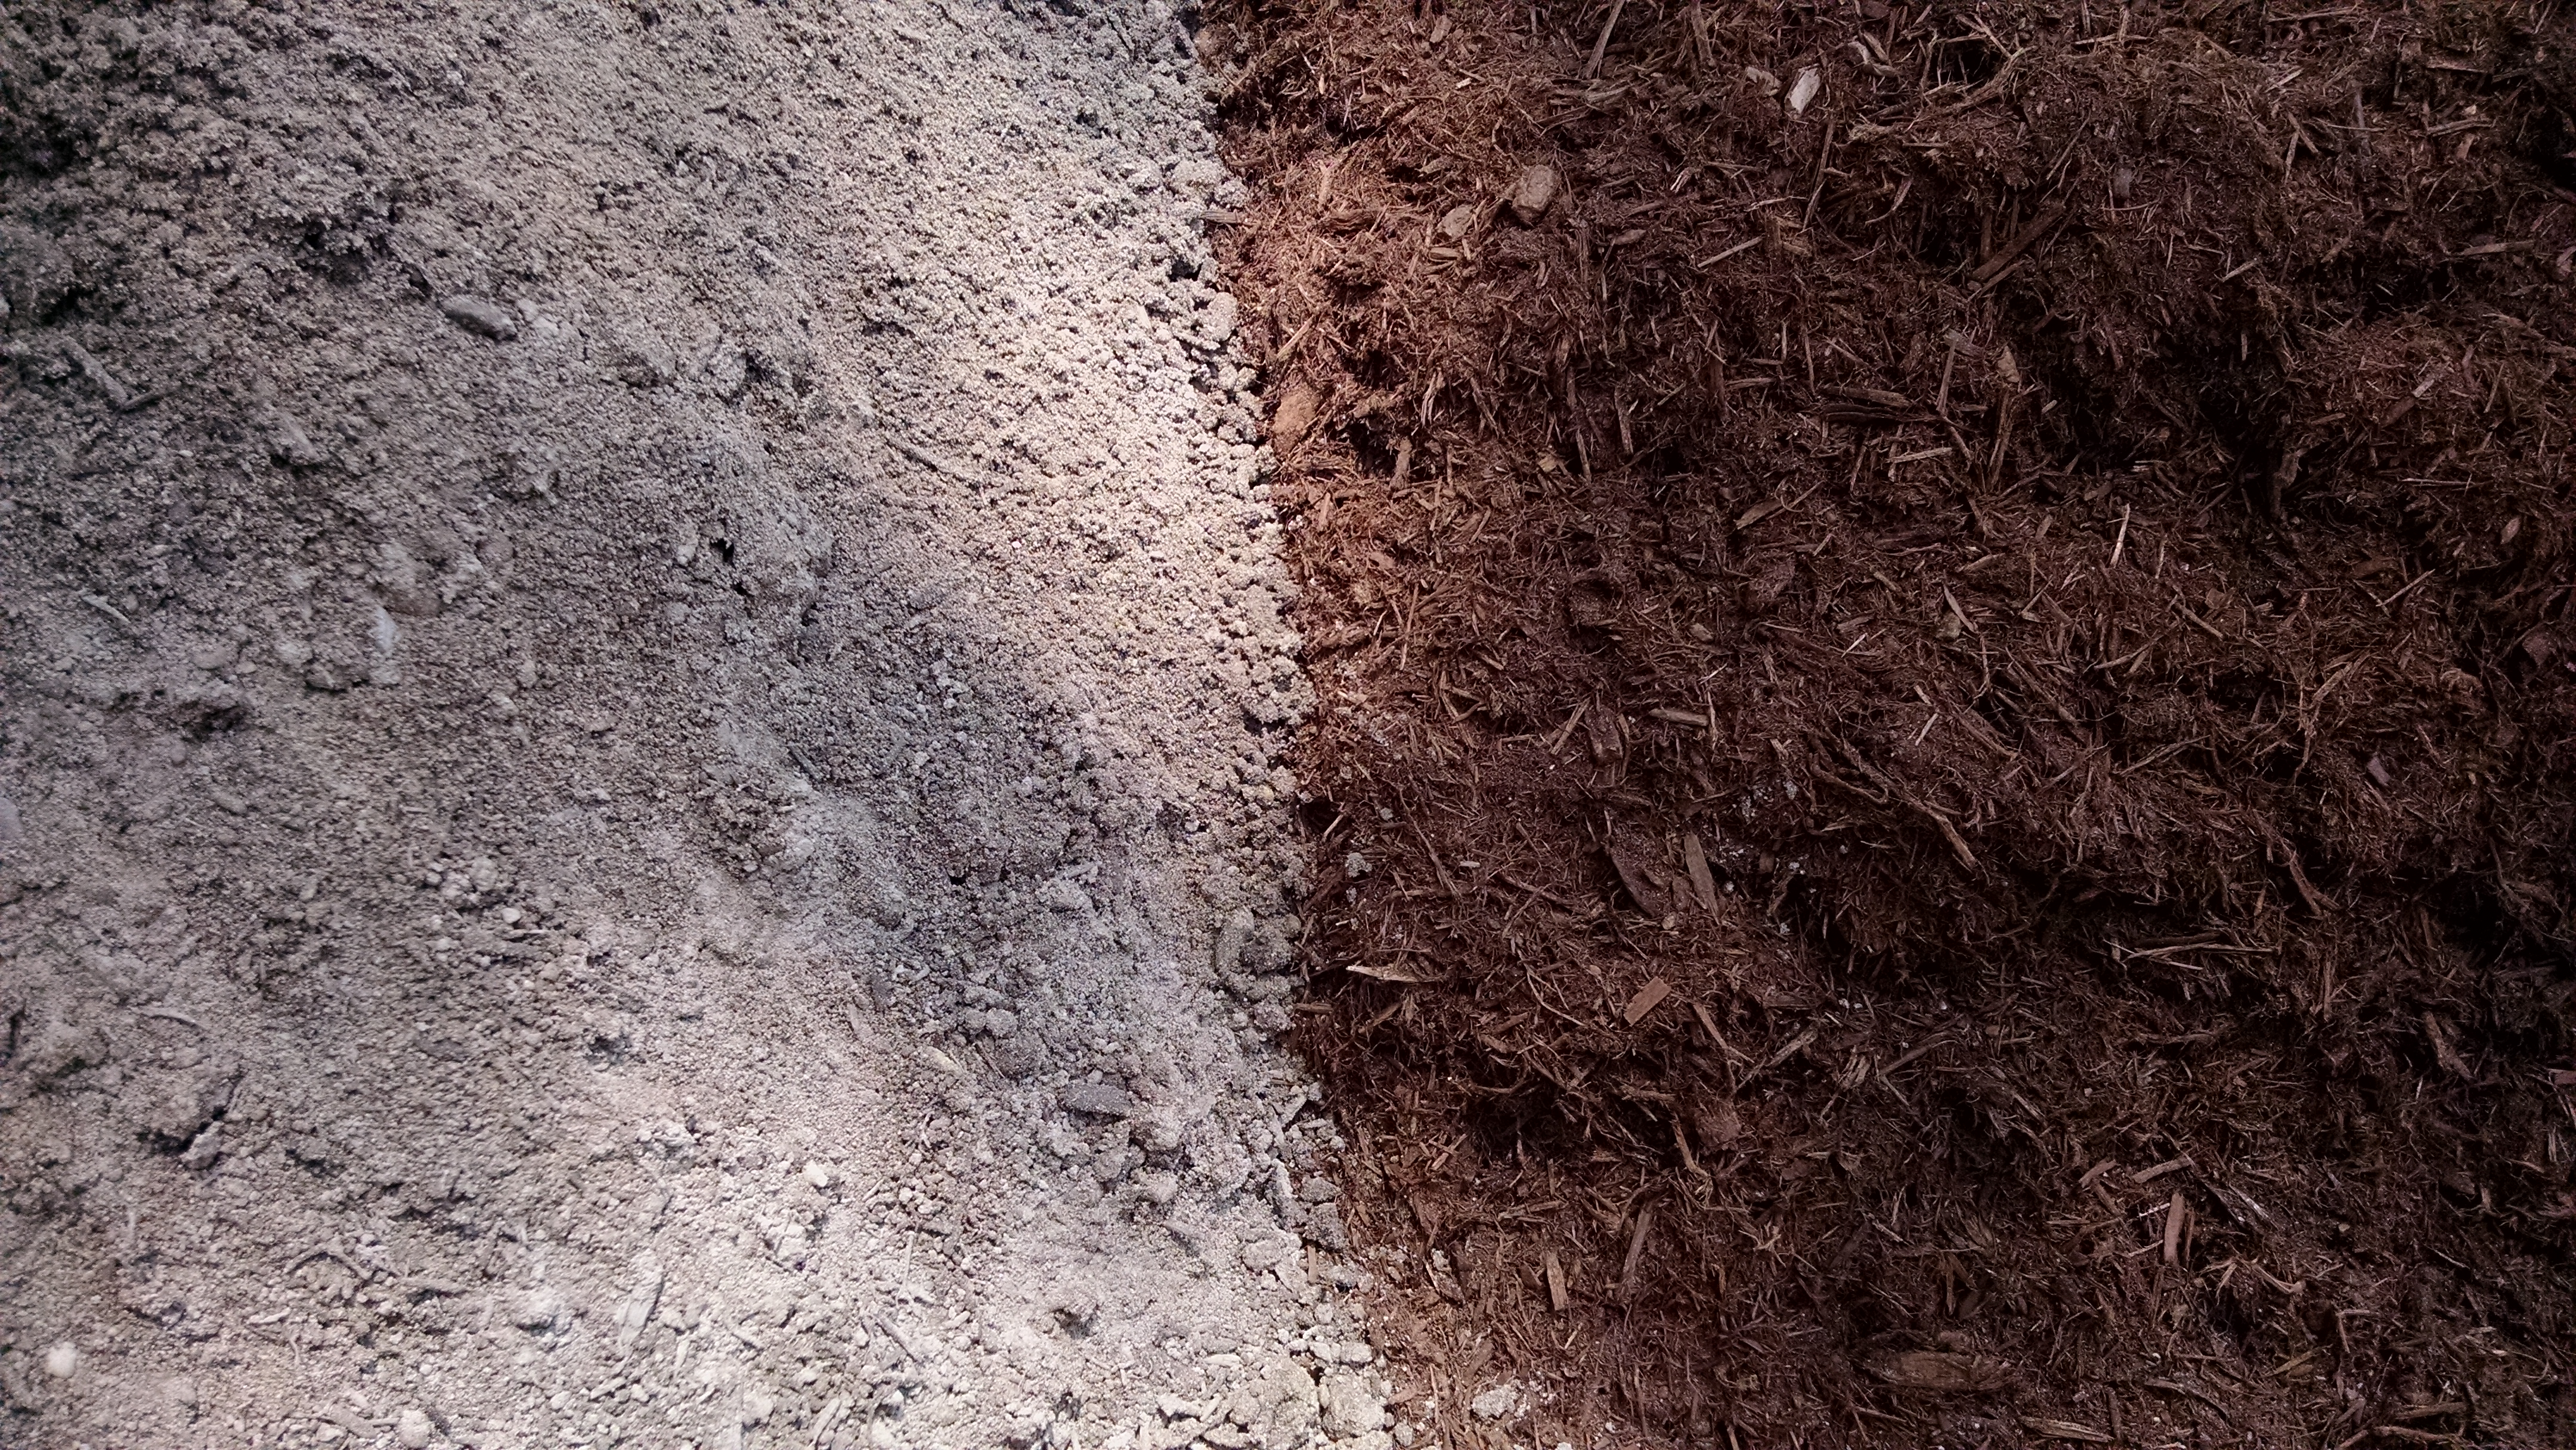
A layer of mulch to top it off
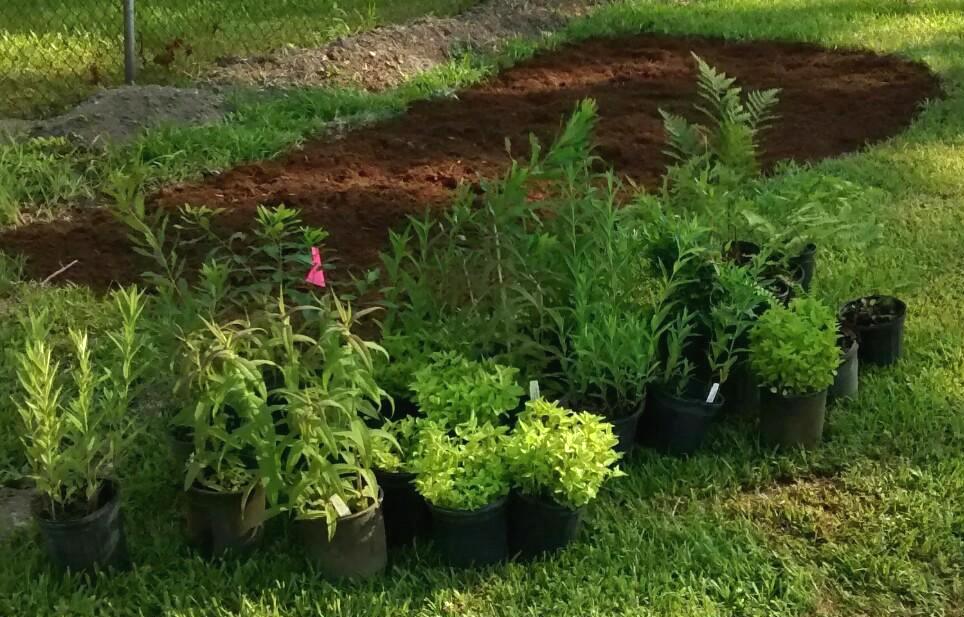
Native plants arriving on scene & ready to go in the ground